This post has Amazon affiliate links. For more info, please go here. #themoreyouknow
Welcome to yet another edition of Covid Crafts! We've been crafting and cooking up lots of goodies and treats in lockdown. With (virtual) school on the horizon, these projects may be coming to an end but we'll do our best to round-up what we did, how we did them, and what you need to know.
Cake Pops. Adorable but problematic to make. Much respect for whoever does this and makes it an actual business. We first attempted cake pops about five years ago and promptly abandoned the idea during the Googling proess. But 2020 is a very different time. So we gave it another try.
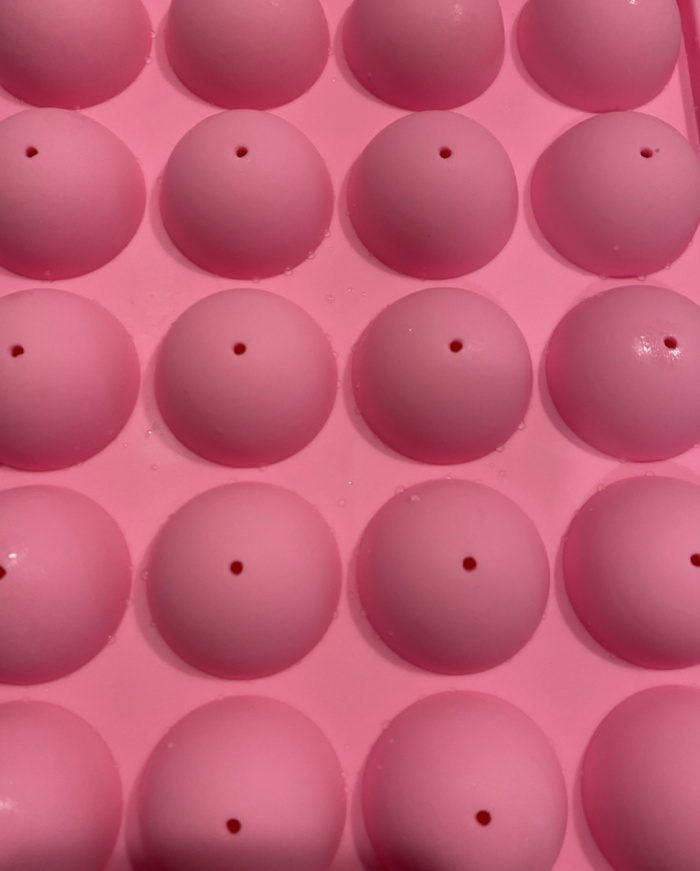 THE MOLDS
There are ways to do the cake pops without molds (see this Sally's Baking Addiction recipe), but that requires more time than I have. Enter cake pop molds. We nabbed these pink ones on Amazon. Or, depending on how often you think you will make cake pops, you could opt for this cake pop machine. But this feels like cheating to me. And how long will that machine last before breaking?
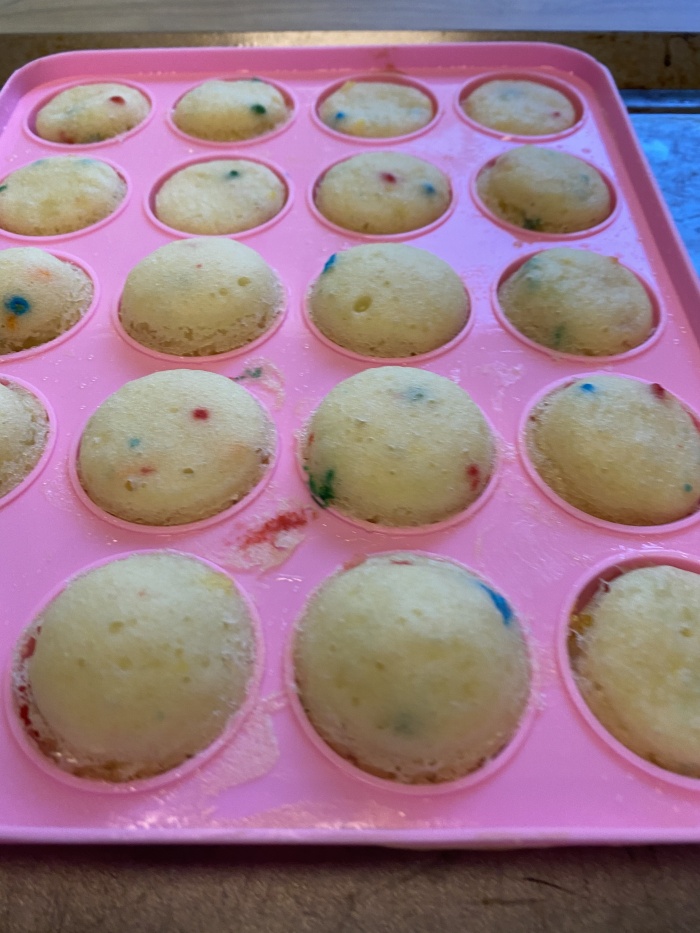 THE BATTER
About two years ago, I made a birthday cake from scratch for my daughter and it was delicious. An actual crowd-pleaser where moms came up to me and said, “Really? You made this.” The only problem is that I made the cake using an online recipe that I did not print out or bookmark and so I can no longer replicate it. It haunts me everytime a birthday comes up in our family now. So while I comb for that recipe in the bowels of the internet, we used a boxed cake batter and it worked perfectly. Note: you only need about 1/3 of the batter.
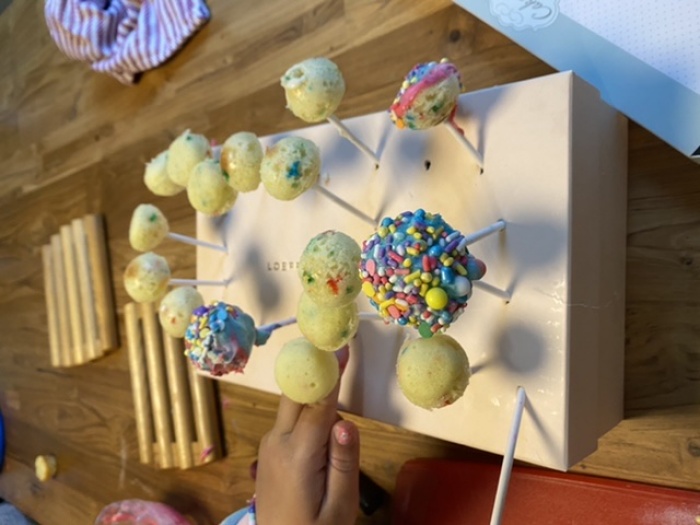
THE STICKS AND STAND
Along with the cake molds, I picked up some treat sticks from Amazon too as well as a stand. The stand was a bust because the screws needed to put it together did not work. Argh. Yet I found a recipe that used a shoebox for a cake pop stand. So I did my own here. Not pretty, but it worked.
THE MELTED CHOCOLATE
We used both white and chocolate chips to melt. My daughter did some in the microwave but the best way to do this is in a bowl in the saucepan.
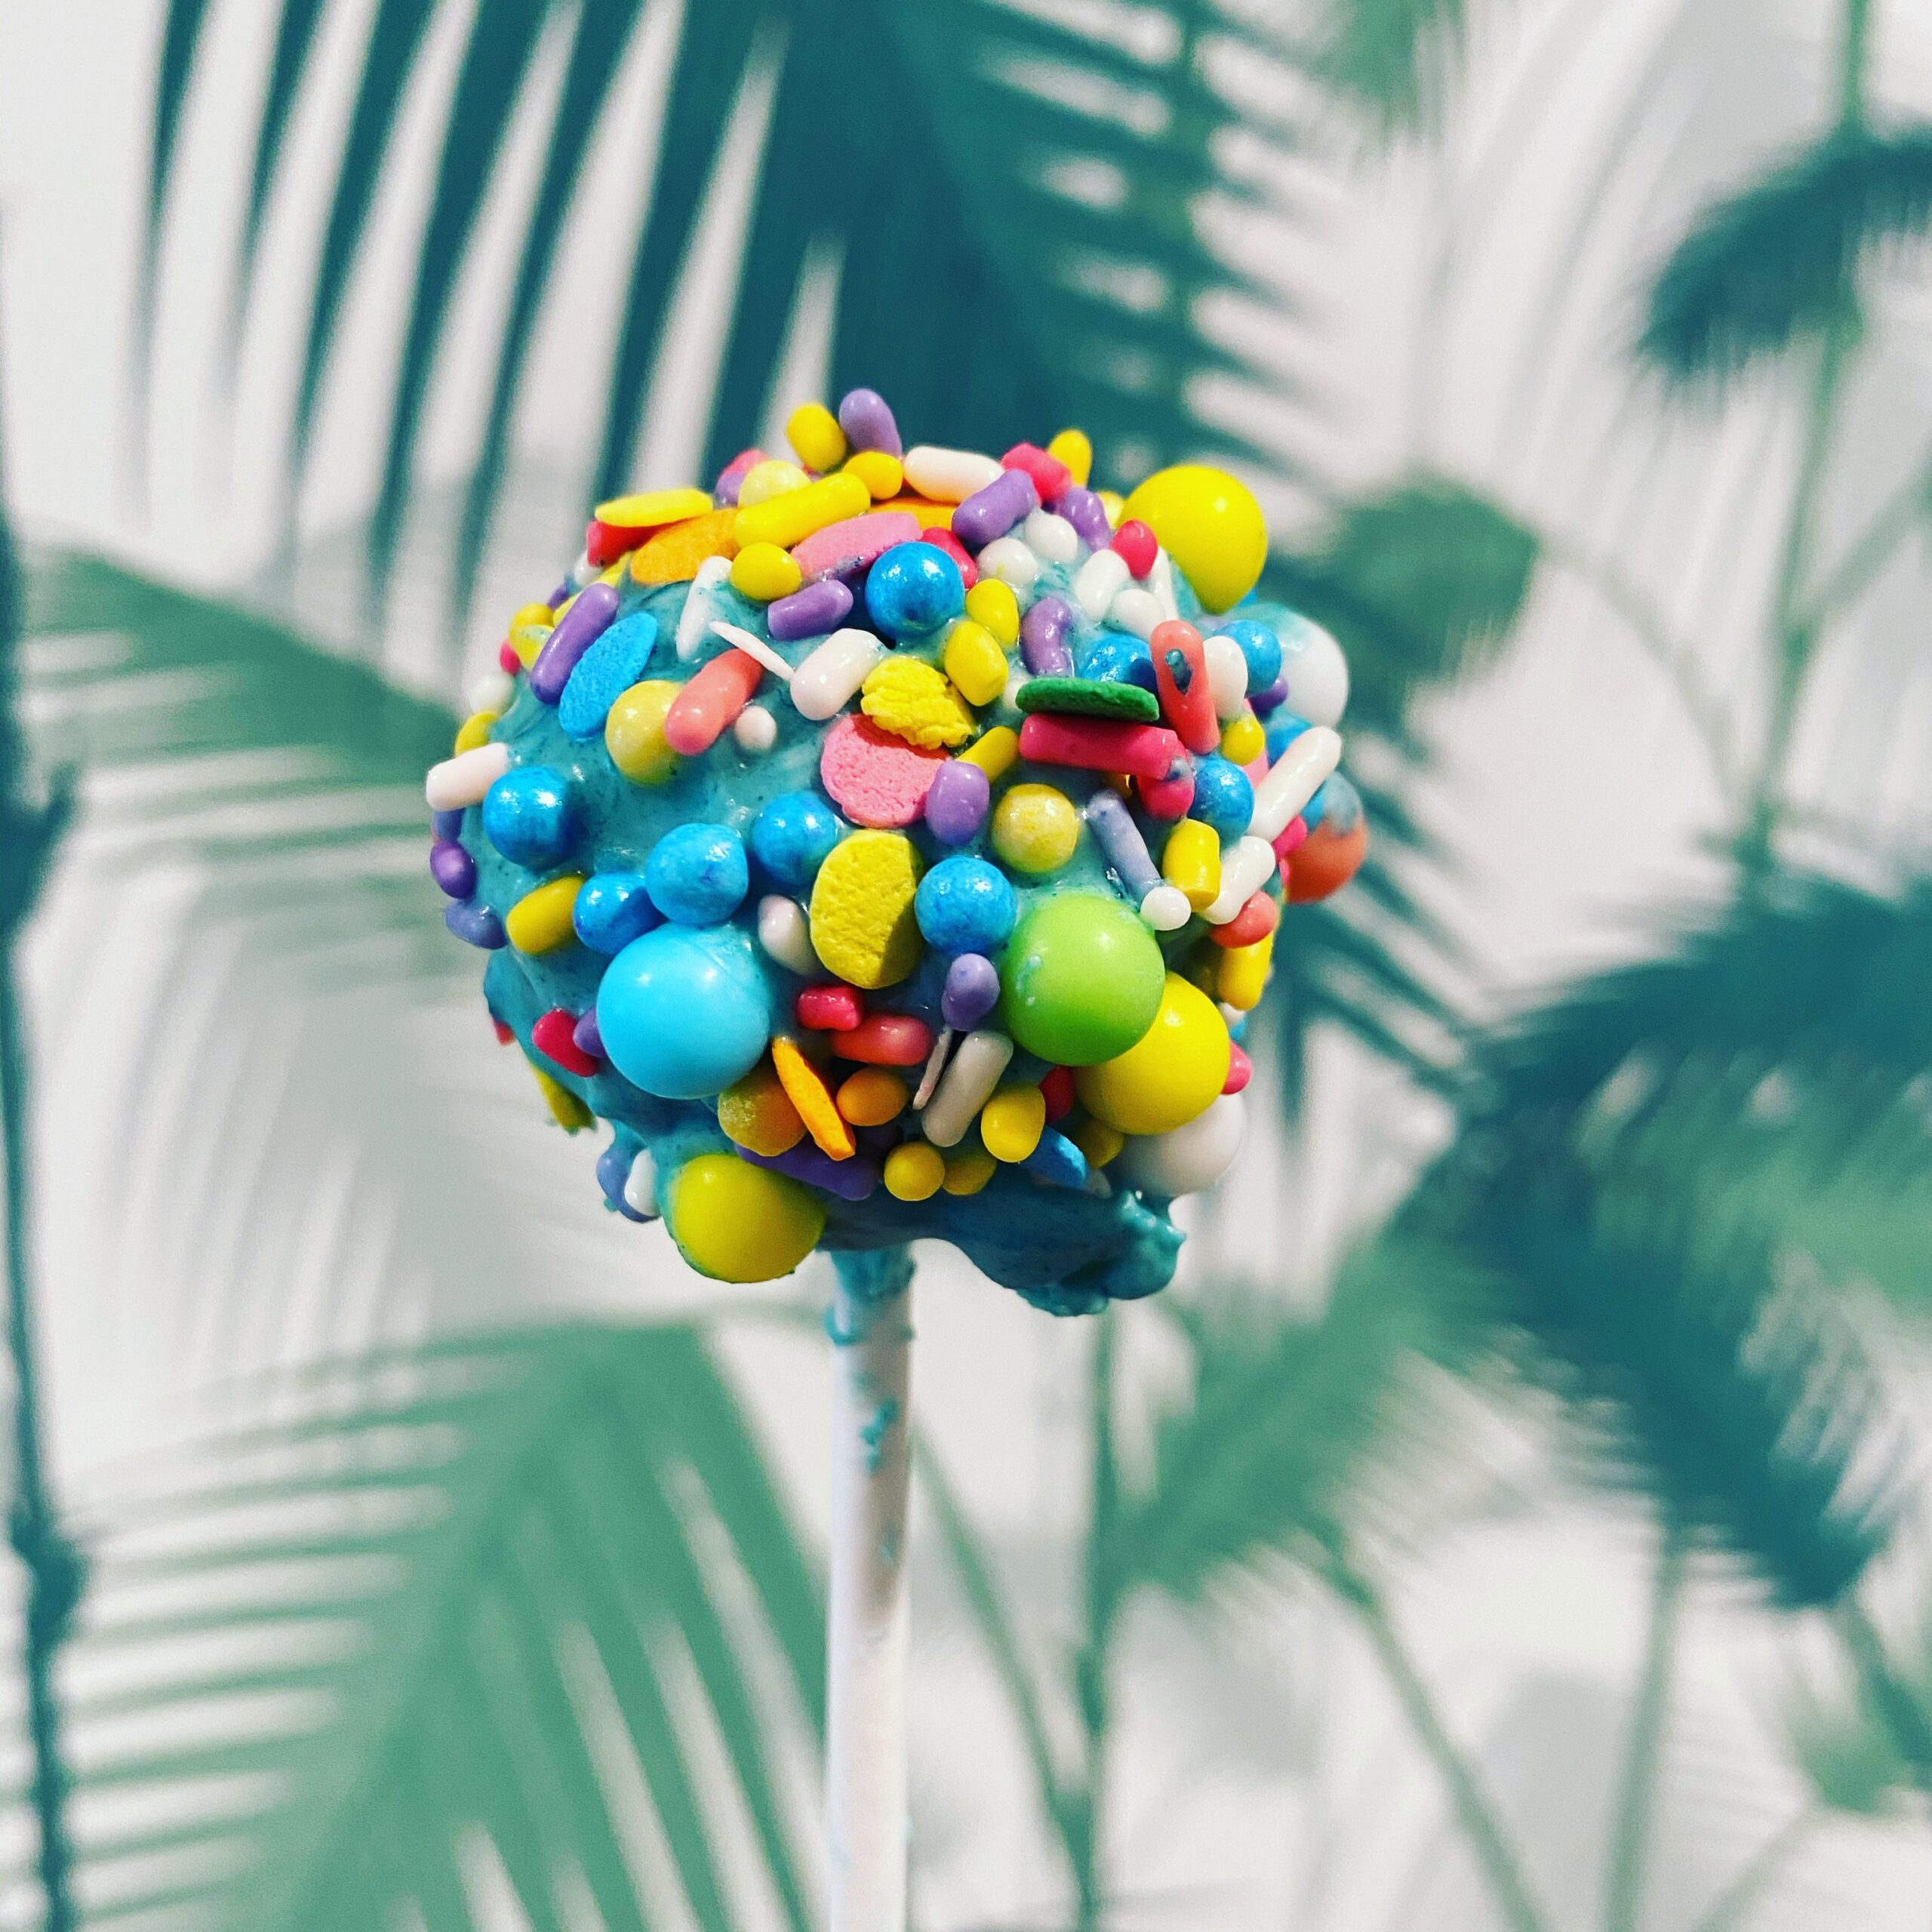
 THE SPRINKLES
Go wild here!
THE PROCESS:
I loosely followed this recipe from In the Kitch since it also used the molds and cake batter. Here's a summary:
+ Make the cake batter (about 1/3 of the box)
+ Grease the molds.
+ Fill the molds to the top. Place the molds together. Bake at 350 for about 20 minutes, or until toothpick comes out clean.
+ Let molds cool before opening them up. Then let the actual cake pops cool.
+ Melt some chocolate. Dip the top of the stick in it, then put the stick into the cake mold. This will help “glue” the stick into the pop. Put them all on a stand, shove things aside in your refrigerator to accommodate the stand, and let them cool for 30 minutes.
+ Melt some more chocolate. Swirl the cake pops in the chocolate, CAREFULLY. Then top with whatever sprinkles you like.
+Take some photos and Boomerang and enjoy.
OTHER STORIES YOU MIGHT LIKE: